

This is an educational video describing the calibration process of the ED.X and NUCLEUS devices.
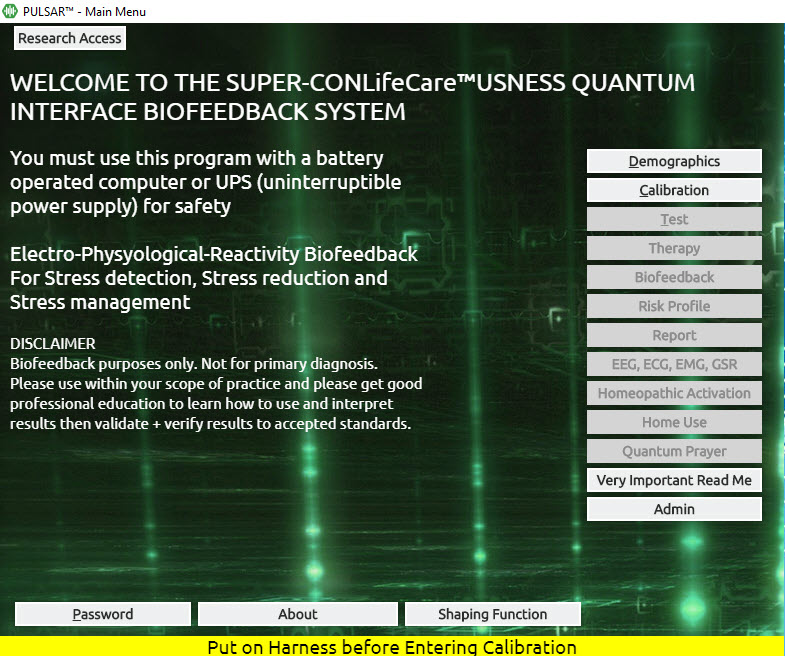
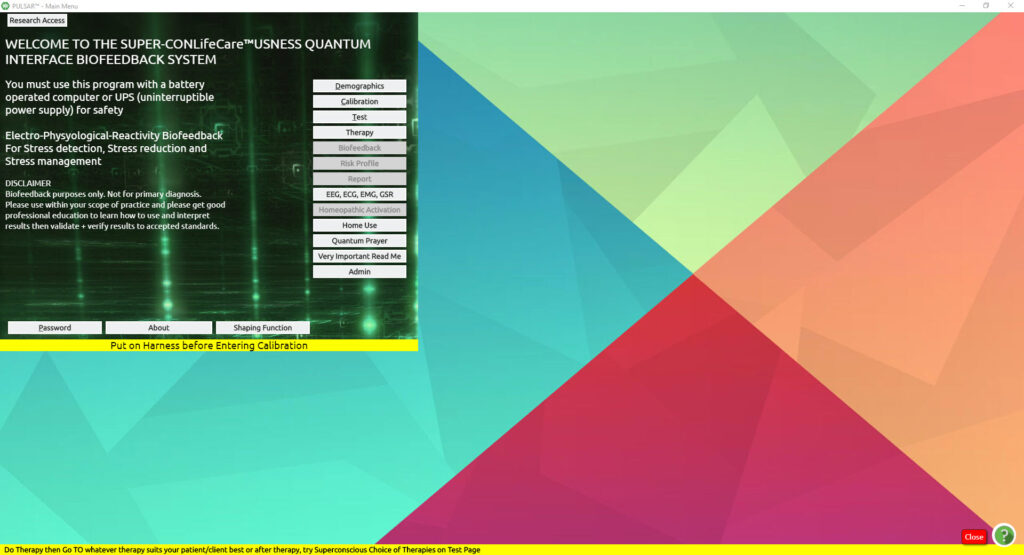
Now that we have our client set up in demographics, we are here in the main panel where the calibration option is now bold.
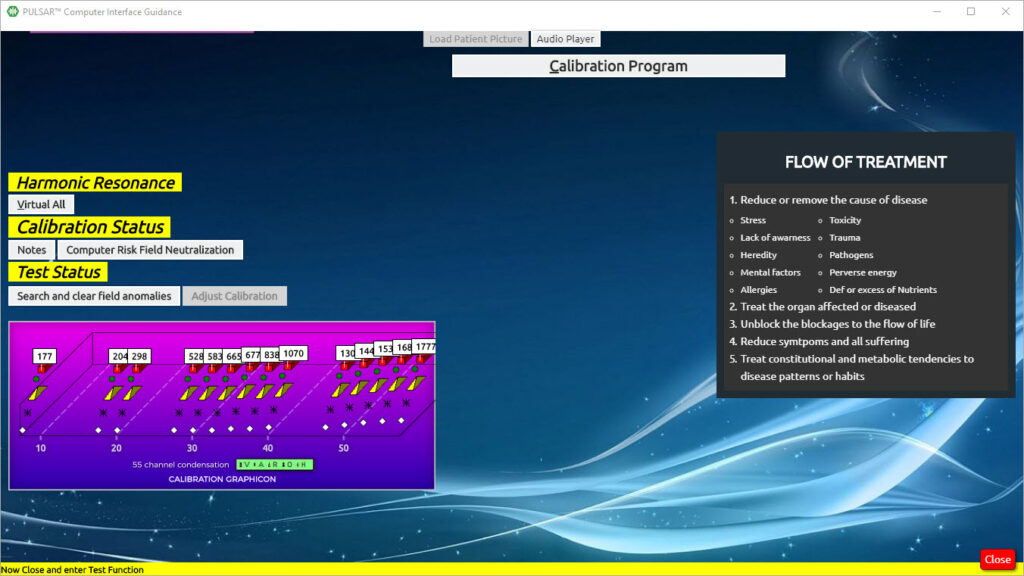
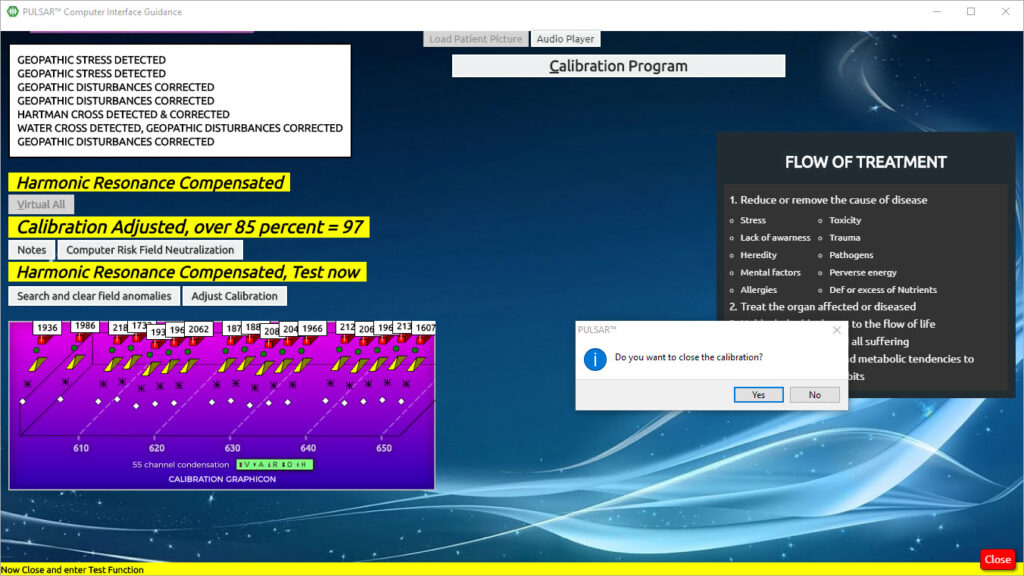
The Calibration process is our first hand-shake or connection with the device. This is the process whereby VARHOPE numbers are calculated.
Click Calibration (from the Main Menu)
On this panel, you also have the option to choose VIRTUAL ALL. This disables the harness from the patient, especially in the case you work on a person with a pacemaker.
In the option Computer Risk Field Neutralization, you can check your room for geopathic stress, and clear it if you wish. This is a good idea especially when you start or finish your day at your office, or even between clients
Other options when you can click Computer Risk Field Neutralization:
- Neutralize and diminish computer stress
- Check and clear area/room for Geopathic Stress – it is suggested to start your day or end your day with this, or at least to do it every week, or when working in a new area
- The Schuman Field and Subspace protection field can be activated and deactivated here
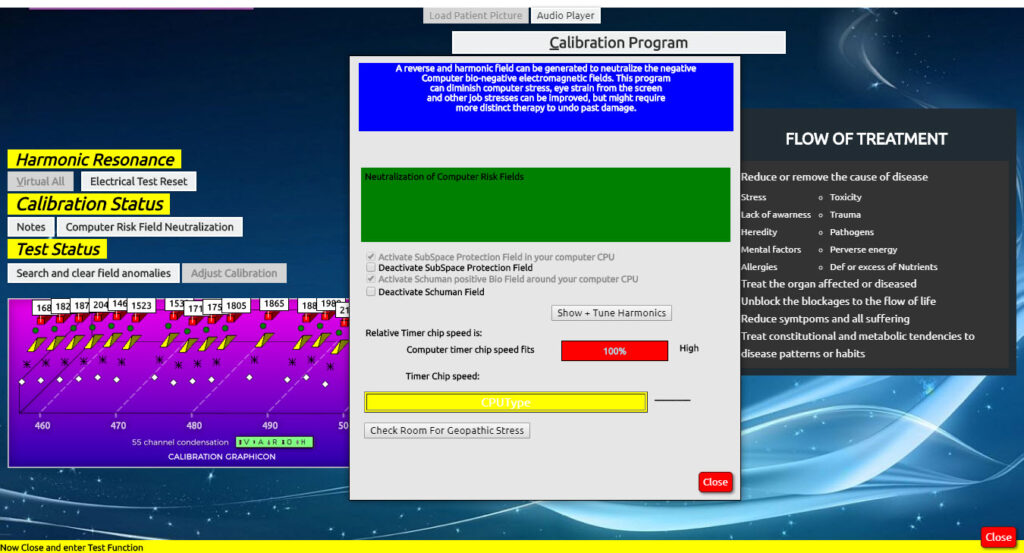
Click close on the Computer Risk Field Neutralization
Click Calibration Program
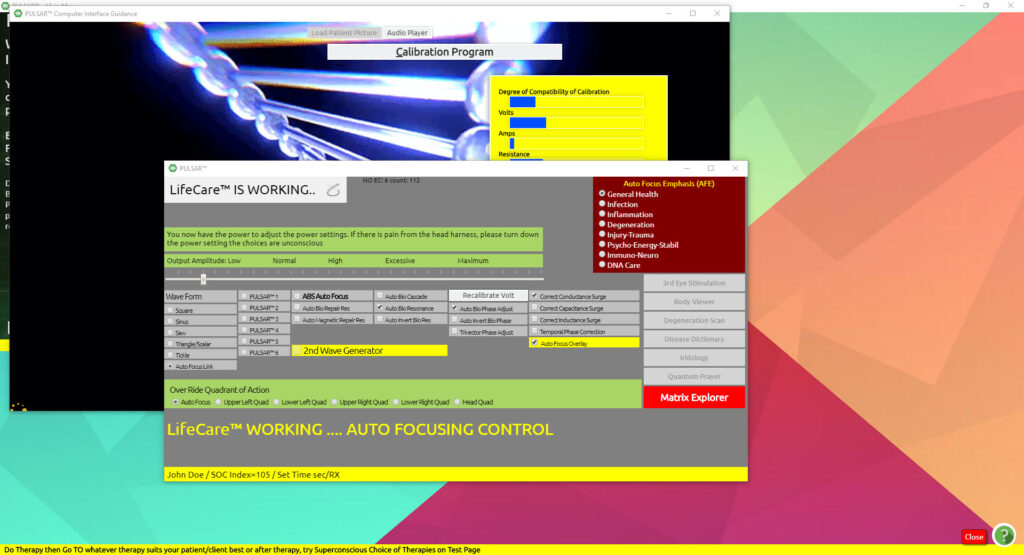
Calibration begins
If you want to close the calibration Click Yes
And you are returned to the Main Panel where you can continue.